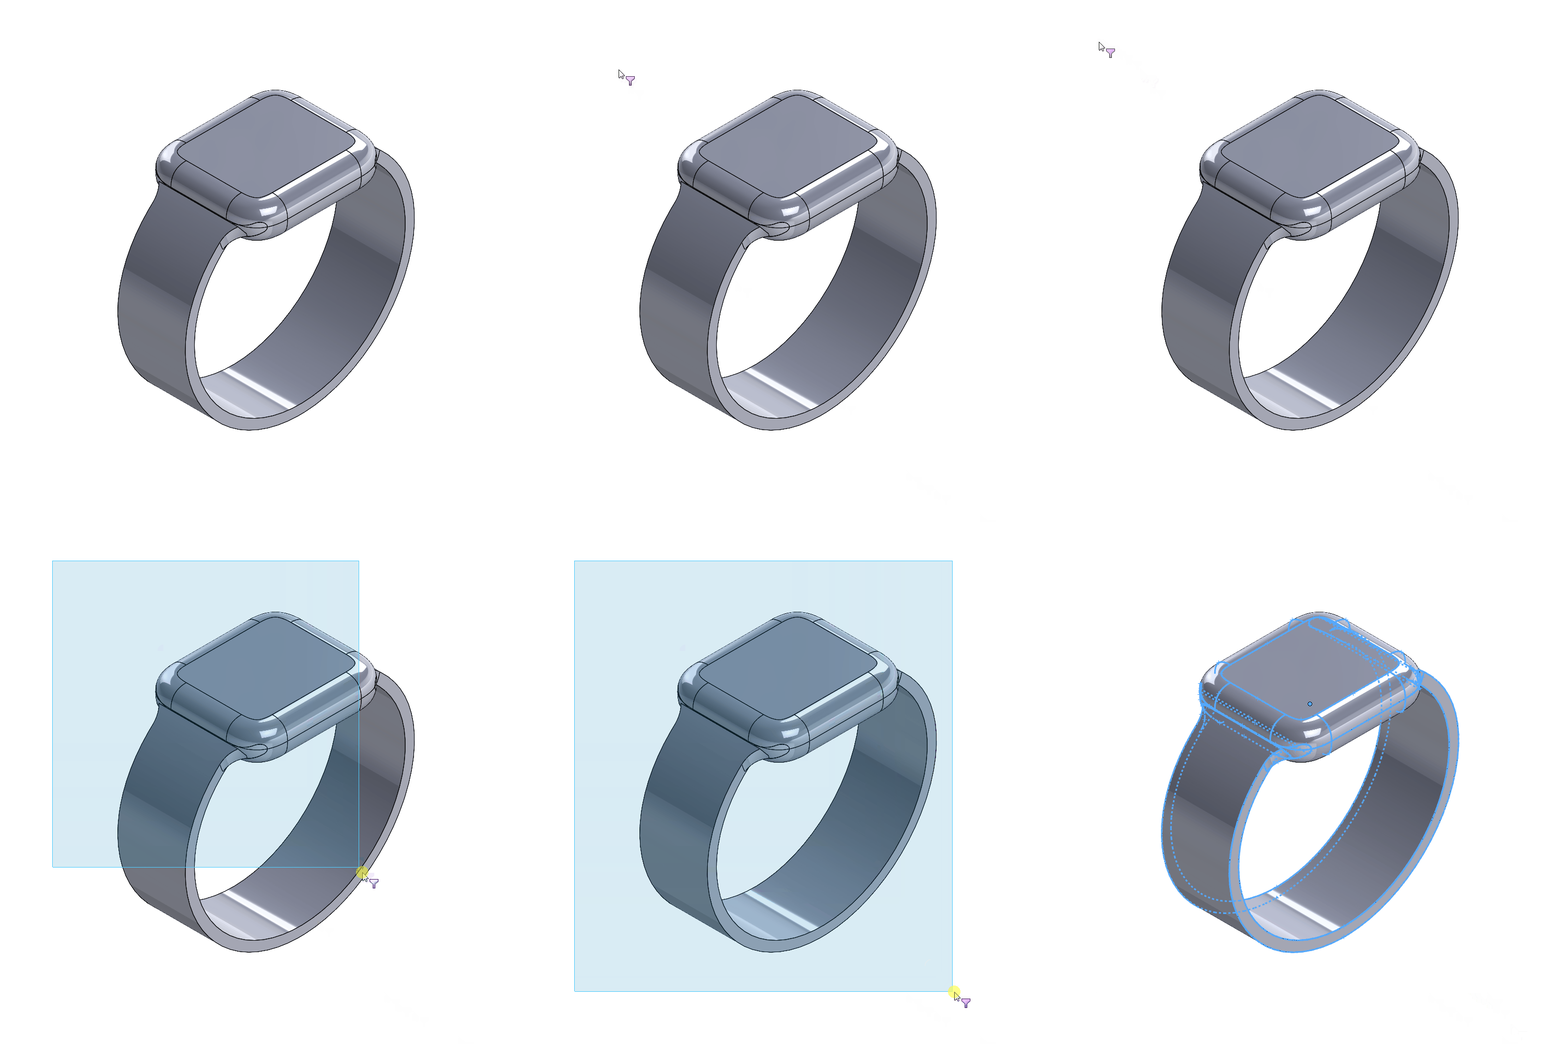
Quick tip: you can get rid of the pink filter / funnel cursor icon by pressing the F6 hotkey to turn off SOLIDWORKS Selection Filters.
The infamous, frustrating pink filter / funnel icon by the cursor – every SOLIDWORKS user has accidentally experienced this at one point or another. While this tool is frustrating when you first encounter it, it is also a powerful, time saving tool for using SOLIDWORKS.
What is the pink cursor filter / funnel in SOLIDWORKS? Meet the Selection Filter tool.
In SOLIDWORKS, the pink filter / funnel icon next to the cursor indicates that the SOLIDWORKS Selection Filter tool is active.
Selection Filter is a useful tool that allows you to only select specific types of items in the graphics area or drawing sheet. This can be a super time saver for selecting only certain types of entities with one quick drag of your mouse.
If this pink icon popped up out of nowhere, then you probably hit F6 by accident, which is the hotkey that activates Selection Filter. To deactivate the tool and get your normal cursor back, just press F6 again.
How to use Selection Filter
To get started using Selection Filter, you can toggle the display of the Selection Filter toolbar by pressing F5 or navigating to View > Toolbars > Selection Filter.

The toolbar contains four buttons that control the overall behavior of the Selection Filter tool, and the rest of the buttons toggle the filter for each type of entity like faces, vertices, edges, center marks, etc..
- First, in the Selection Filter toolbar, click on one or more of the filters you would like to use for selecting certain entities on your part.
- Then click on the Toggle Selection Filter (or press F6) to activate the Selection Filter. A pink funnel / filter icon appears next to the pointer when the Selection Filter is toggled on.

- Now when you drag a selection box with the pointer over some or all of the part, only the specific entities that you have toggled on in the Selection Filter toolbar will be selected.

The following four buttons on the toolbar control the behavior of the Selection Filter:
Toggle Selection Filter (or pressing F6)
Turns the selected filters on or off.
Clear All Filters
Clears all selected filters
Select All Filters
Selects all selected filters
Invert Selection
After you have selected over the part, this clears the currently selected entities on the part and selects all the other entities on the part of the same type.
Examples of using Selection Filter
Selection filters can be super useful with both 3D models in the graphics area and on 2D drawing sheets.
Here are some examples of how you can save time with Selection Filters:
- Finding the surface area of a part
- Hiding all of the planes in a part
- Hiding all of the sketches in a part
- Mass-deleting annotations in a sketch
How to avoid accidentally triggering Selection Filter
By default, SolidWorks uses the keyboard shortcuts (aka hotkeys) shown below to trigger different Selection Filters:
| Edges | E |
| Faces | X |
| Vertices | V |
If you wish to avoid triggering these Selection Filters in the future, you can reassign the E, X, and V keyboard shortcuts to no longer map to the Selection Filters with the following process:
- Navigate to Tools > Customize > Keyboard
- Search for “filter”
- Delete the shortcut letter next to each command
- Click “OK”
